Ordering custom uniforms — scrubs in your hospital’s colors, chef jackets with your restaurant’s logo, or a full private-label workwear line — follows the same basic path with almost every manufacturer: brief, fabric and quote, sample, bulk production, inspection and shipping. Most problems with custom orders come from details that were never written down at the start.
This guide walks through each step, then lists the points buyers most often miss, including labelling rules for the United States, Australia and Saudi Arabia.
The custom uniform process, step by step
1. Prepare your brief
A clear brief is the fastest way to an accurate quote. Send your manufacturer:
- Styles: photos, sketches, a sample garment, or reference styles from the manufacturer’s range.
- Quantity per style, color and size — not just a total. The size breakdown affects fabric use and price.
- Colors, ideally as Pantone references.
- Logo and branding: artwork files, size and position (chest, sleeve, back) and method (embroidery or printing).
- Labels and packing you need, and the destination country.
- Target delivery date at your warehouse, not just the ship date.
2. Choose the fabric and get a quotation
Fabric drives comfort, durability and most of the cost. For scrubs, the usual choices are TC, CVC spandex, TC spandex, TR spandex and polyester spandex — see our scrub fabric guide for how they compare. For chef jackets, aprons and workwear, ask about fabric weight and how the garments will be washed. The manufacturer then quotes per style, with the lead time and shipping terms.
3. Make and approve a sample
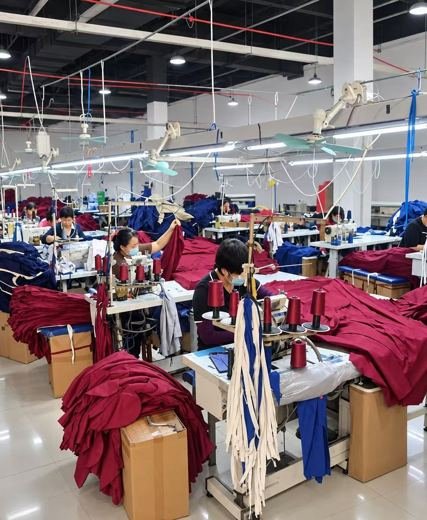
Never skip the sample. Check it against your brief point by point:
- Fit: try it on real wearers in several sizes, not just one person.
- Color: compare to your Pantone reference in daylight, not under office lights.
- Logo: size, position, thread or ink colors, and sharpness of small text.
- Wash test: wash it several times the way your staff will, then check shrinkage, color loss and the logo.
Send written comments with photos. When everything is right, approve the sample in writing and keep one as the reference — the “golden sample” — for the bulk order.
4. Bulk production
After approval, fabric is cut, garments are sewn, logos are embroidered or printed, and the finished pieces are pressed. Ask for photos during production if you want to follow progress.
5. Inspection, packing and shipping
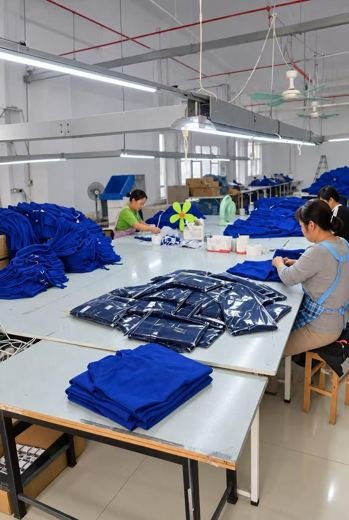
Finished garments are checked against the approved sample, folded, bagged and packed into cartons marked with style, color, size and quantity. Agree on the shipping terms (for example FOB or CIF) at the quotation stage so both sides know who arranges and pays for freight and insurance.
Embroidery or printing?
| Method | Look | Durability | Best for |
|---|---|---|---|
| Embroidery | Raised, premium, textured | Very high — survives frequent industrial washing | Logos and names on scrubs, chef jackets, lab coats and work shirts |
| Screen printing | Flat, bold, solid colors | High, if cured correctly | Larger designs and back prints in a few colors |
| Heat transfer | Flat, can be full color and detailed | Medium — depends on the transfer and washing | Multi-color logos, small runs and individual names |
For uniforms that are washed hot and often, embroidery is usually the safest choice for the main logo.
10 things to check before you order
- Use one size chart. Agree on a measurement chart for every size and fit (men’s, women’s, unisex) before the sample, so “M” means the same thing to both sides.
- Send vector artwork. Logos in AI, EPS, SVG or PDF format give clean embroidery and prints; small JPGs do not.
- Specify colors with Pantone codes. Screen colors differ from fabric colors; a physical reference avoids surprises.
- Ask about shrinkage. Cotton-rich fabrics shrink more; wash-test the sample and allow for it in the size chart.
- Approve in writing. Confirm fabric, colors, logo, labels and packing in one written approval with photos of the sample.
- Plan your size mix carefully. Running out of popular sizes is a common reorder problem; use past orders or a staff survey.
- Think about reorders. Keep the same fabric quality and color references so later batches match the first one.
- Get labelling right for your market (see below).
- Agree on packing details: individual bags, folding, size stickers, carton marks and how many pieces per carton.
- Work back from your deadline. Leave time for sampling, revisions and shipping, not just production.
Labelling for the USA, Australia and Saudi Arabia
Labels are easy to fix before production and expensive to fix after. Rules change, so confirm the current requirements with your importer or customs broker, but as a starting point:
- United States: garments need permanent labels showing fiber content, country of origin and the identity of the manufacturer or dealer (for example an RN number), plus care instructions under the FTC Care Labeling Rule.
- Australia: clothing must carry permanent care instructions under the mandatory care labelling standard; buyers usually also show fiber content and country of origin.
- Saudi Arabia: textile products are covered by SASO technical regulations, which generally call for labels in Arabic (English may be added) with fiber content, care instructions and country of origin.
Tell your manufacturer the destination country at the start so the right labels are prepared with the bulk order.